By Jeff Sefton | The Grey Agent
Are you a real estate agent who wants to create more video content but doesn’t want to invest in another piece of software, complicated recording equipment or an expensive home studio?
Here’s something worth considering: You may already have a video recording tool sitting on your computer.
It’s called Zoom.
Most real estate agents know Zoom as a meeting platform. We use it to connect with clients, attend brokerage meetings, conduct training sessions and communicate with people who may be relocating from another city or province.
But Zoom can do another job that many agents overlook. You can use it to record videos for your website, social media accounts, YouTube channel and client education resources.
I discovered this while looking for a simple way to record videos without setting up a dedicated recording studio. I wanted something straightforward that would allow me to sit in front of my computer, add a background, turn on my camera and start recording.
I was already using Zoom, along with another desktop recording application. Then I realized I was paying for two subscriptions when one could potentially do the job.
That’s when I started looking at Zoom a little differently.
Let’s explore how you can use Zoom as a practical video content creation tool for your real estate business.
Why Real Estate Agents Should Be Creating Video Content
Video is an excellent way to build familiarity and trust with potential clients.
Think about how people choose a real estate agent. They aren’t simply looking for someone who can put a property on the MLS system. They want someone they feel comfortable communicating with, someone who understands their needs and someone they can trust to guide them through an important financial decision.
Video gives people an opportunity to get to know you before they ever pick up the phone.
You don’t need to become a professional videographer or create elaborate productions. In fact, some of the most useful videos are simply you explaining something your clients want to know.
Here are a few examples of videos you could create:
- Market updates: Explain what’s happening in your local real estate market.
- Buyer education: Answer common questions about purchasing a home.
- Seller education: Explain how to prepare a property for sale.
- Relocation information: Help people understand what it’s like to move to your community.
- Technology tutorials: Show clients how to use online tools and resources.
- Frequently asked questions: Answer the questions you hear from clients every week.
The important thing is to share information that is genuinely useful to the people you want to reach.
And you don’t need a complicated recording setup to get started.
Zoom Has Two Jobs in Your Real Estate Business
Most agents are familiar with Zoom’s primary purpose: online meetings.
You can use it to:
- Meet with prospective buyers and sellers.
- Conduct virtual listing presentations.
- Discuss property details with relocating clients.
- Share your computer screen during a consultation.
- Connect with colleagues and brokerage teams.
But there is another use worth exploring.
Job number two: Creating video content.
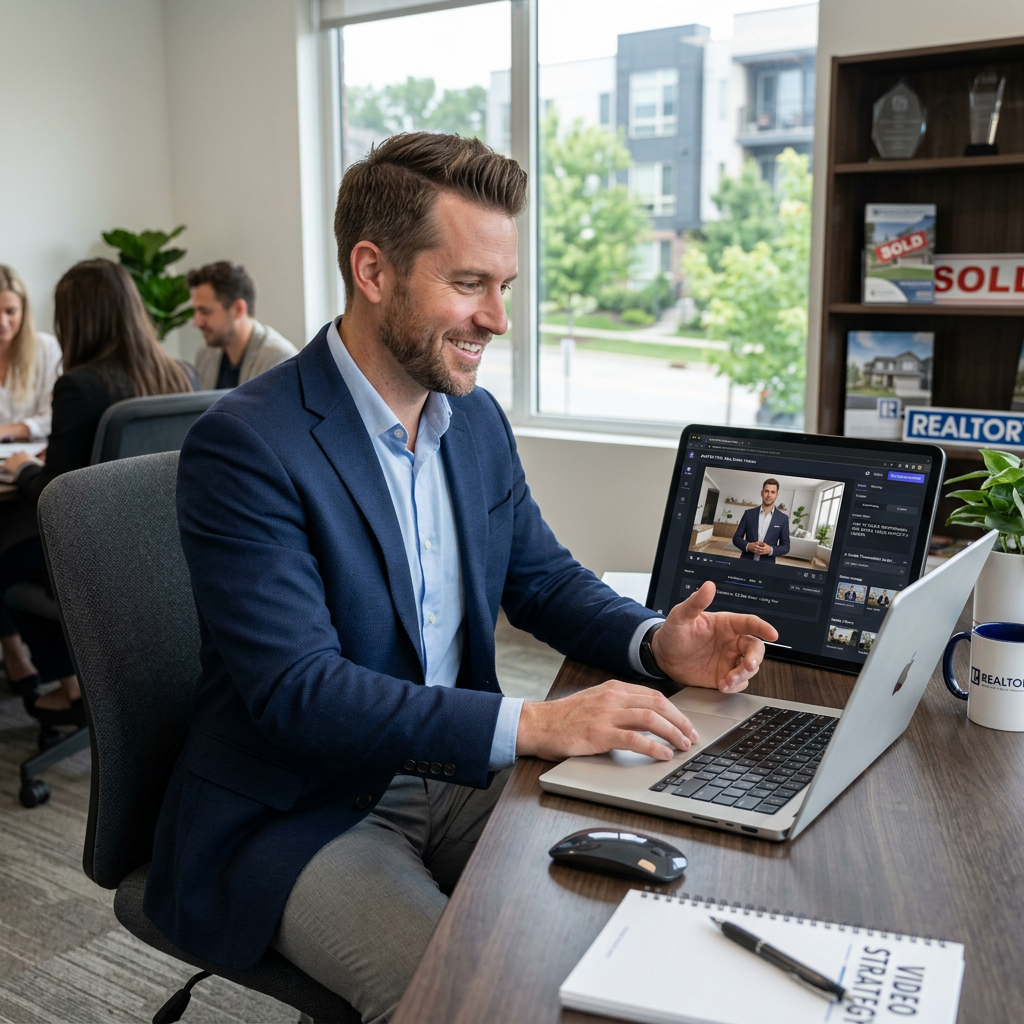
You can start a Zoom meeting by yourself, turn on your camera, add a virtual background if you wish, and record yourself speaking.
You don’t need an audience, another meeting participant or a scheduled appointment.
Think of it as having a simple recording studio right on your desktop.
You can create talking-head videos, record screen-sharing tutorials or even interview a guest.
One familiar application can now serve two purposes in your business.
How to Record a Video Using Zoom
If you haven’t tried this before, the process is relatively straightforward.
For this workflow, use the Zoom desktop application on your Windows or Mac computer.
Step 1: Open the Zoom Desktop App
Sign in to your Zoom account and open the desktop application.
Start a new meeting. You can do this without inviting anyone else.
Essentially, you’re creating a private meeting room for yourself.
Step 2: Check Your Camera and Microphone
Before recording, make sure your camera and microphone are working properly.
A few things worth checking:
- Position your camera at approximately eye level.
- Make sure your face is well lit.
- Choose a quiet location.
- Check that your microphone is picking up your voice clearly.
- Remove distracting items from the background.
You don’t need expensive equipment to begin. Your existing webcam and microphone may be perfectly adequate for getting started.
Step 3: Add a Background
One feature I particularly like is the ability to use a virtual background.
You can choose a professional-looking background or use a suitable branded background that reflects your business.
This is helpful if you don’t have a dedicated office or a particularly attractive space behind you.
Just remember that a background should complement your video, not become the main attraction!
Step 4: Start Recording
Once you’re happy with your camera, microphone and background, locate the Record option in your Zoom meeting controls.
Select Record on this Computer.
Zoom will begin recording your video and audio.
When you’re finished, stop the recording and end the meeting. Zoom will process the recording and save the resulting video files to your computer.
You can then locate the MP4 video file and use it for editing or uploading to your preferred platform.
One important point: Local computer recording is available on both free and paid Zoom accounts, although recording settings and account permissions can vary.
If you don’t see the Record option, check your recording settings or ask your account administrator whether computer recording has been enabled.
Step 5: Find Your Recorded Video
By default, Zoom saves computer recordings in a folder called Zoom inside your Documents folder.
On Windows, this is generally:
Documents > Zoom
On a Mac, it is generally:
Documents > Zoom
You can also check the recording settings in your Zoom desktop application to see or change the storage location.
Once the recording has been processed, you can open the MP4 file and review your video.
That’s it. You’ve created a video without purchasing another recording application.
Three Ways Real Estate Agents Can Use Zoom to Create Content
Now that you know how to record, let’s look at some practical ways to use this feature.
1. Create Talking-Head Videos
A talking-head video is simply you speaking directly to the camera.
This is probably the easiest place to start.
You could record a two-minute video explaining:
- Three things sellers should know before listing their home.
- What buyers should expect when making an offer.
- Why pricing a property correctly matters.
- What makes your community a great place to live.
- How the real estate market is changing.
These videos are particularly useful for social media and YouTube.
You don’t need to memorize a script. Prepare a few talking points, speak naturally and imagine you’re explaining something to a client sitting across the desk from you.
Remember, you’re not auditioning for Hollywood. You’re sharing your knowledge.
2. Record Screen-Sharing Tutorials
This is another useful feature.
You can share your computer screen while explaining what you’re doing.
For example, imagine you’re showing a client how to:
- Navigate your real estate website.
- Search for properties.
- Understand a property listing.
- Find community information.
- Use an online buyer or seller resource.
You can also create training videos for other agents explaining how to use CRM systems, digital transaction tools or other technology applications.
For someone building an educational YouTube channel, this is particularly useful.
You can demonstrate a process while explaining each step rather than simply talking about it.
3. Record Interviews and Conversations
You can also invite another person into a Zoom meeting and record a conversation.
This could be a great way to create more engaging content.
Consider interviewing:
- A mortgage professional about financing.
- A home inspector about common property concerns.
- A local business owner about the community.
- A real estate technology expert about useful tools.
- Another agent about their experience with a particular process.
Before recording, make sure everyone understands that the meeting is being recorded and agrees to how the recording will be used.
You can then edit the conversation into a longer video or shorter educational segments.
The Real Opportunity: Turn One Video Into Multiple Pieces of Content
Here’s where I think things get interesting.
Rather than creating a separate video for every social media post, you can use one recording as the starting point for several pieces of content.
Let’s say you record a five-minute video explaining how to prepare a home for sale.
That one recording could become:
1. A YouTube video
Upload the full recording to your YouTube channel.
2. A blog post
Expand the subject into a written article for your website. This gives Google another opportunity to understand what your website is about and helps people who prefer reading rather than watching.
3. Social media clips
Take useful sections of your video and turn them into shorter clips for Facebook, Instagram or LinkedIn.
4. An email newsletter
Share the video with your database and include a short explanation of what viewers will learn.
5. A client resource
Save the video and send it to future clients who have questions about preparing their property for sale.
This is a much more efficient way of thinking about content creation.
Instead of constantly asking yourself, “What should I post today?” you can start with one useful idea and build several pieces of content around it.
You can also use AI tools to help turn your video transcript into a blog outline, social media captions or an email newsletter.
The key is to review and personalize the material before publishing. Your experience and perspective are what make the content valuable.
Is Zoom Better Than a Dedicated Video Recording Application?
Not necessarily.
Zoom isn’t designed to replace professional video production software. If you need advanced editing, multiple camera angles, sophisticated transitions, extensive graphics or detailed audio controls, you may need a dedicated recording or editing application.
But that’s not the point.
The question is whether you need those features to accomplish what you’re trying to do.
For straightforward talking-head videos and basic screen-sharing tutorials, Zoom may be all you need to get started.
Here’s how I would look at it:
| Your requirement | Zoom |
|---|---|
| Record yourself speaking | Yes |
| Record a screen-sharing tutorial | Yes |
| Add a virtual background | Yes |
| Record a conversation with a guest | Yes |
| Save a video to your computer | Yes |
| Advanced video editing | No |
| Professional multi-camera production | No |
If you’re already paying for Zoom, it makes sense to explore its recording capabilities before investing in another subscription.
A Few Things to Know Before You Start
There are a few practical considerations worth mentioning.
Local recording versus cloud recording
Zoom offers computer recording and cloud recording. Computer recordings are saved directly to your device and are available with free and paid accounts. Cloud recording is a paid-plan feature.
For basic video content creation, local recording is a good place to start.
Recording quality
Check your camera, microphone and lighting before recording. A clear picture and good audio are more important than an elaborate background.
Storage space
Video files can take up considerable space on your computer. Make sure you have enough storage and establish a simple system for organizing your recordings.
Privacy and consent
If you’re recording clients, colleagues or guests, obtain their permission and explain how the recording will be used. Never include confidential client information in a training video or public recording.
Editing
Zoom is primarily a recording tool, not a complete video editor. You may want to use a separate application to trim the beginning and end of your video, add captions or create shorter clips.
My Advice: Make Better Use of the Technology You Already Have
One of the things I have learned while exploring technology and automation for real estate agents is that we don’t always need another tool.
Sometimes we just need to understand the tools we already use.
It’s easy to get caught up in the latest software, AI applications and subscription services. Every week there’s another platform promising to make your business more productive.
But before you add another monthly expense, take a look at your existing technology.
Can it do more than one job?
Can it eliminate a manual task?
Can it help you create something useful for your clients?
In this case, Zoom can be used for both client meetings and video content creation.
That’s one less application to learn, one less subscription to consider and one more opportunity to create useful content for your business.
My approach is simple: learn one tool, find one practical application and put it to work.
You don’t have to become a technology expert overnight.
You just have to be willing to start.
Final Thoughts
If you’re a real estate agent who has been putting off video marketing because you think you need expensive equipment or complicated software, give Zoom a try.
You may already have everything you need to record your first video.
Start with a simple topic, keep your recording short and focus on sharing something helpful.
You can improve your presentation, lighting and editing skills as you go.
And remember, consistency is more important than perfection.
Stay Current. Stay Curious. Keep Adapting.
Want to Learn More About Technology, AI and Automation for Real Estate Agents?
I’m Jeff, the Grey Agent.
I’m a real estate professional exploring practical ways to use technology, AI and automation to make everyday business tasks easier.
My goal is to help agents, particularly those who didn’t grow up with all this technology, become more comfortable using the tools available to them.
If you’re interested in learning how to work smarter without making things unnecessarily complicated, join me on the journey.
Subscribe to The Grey Agent on YouTube and let’s learn one task at a time.




Leave a Reply